Minecraft Guides
How to Make a Map in Minecraft: Craft, Expand, and Customize for Better Exploration

Marko Kulundzic

One of the least appreciated tools in Minecraft is maps, and a good map can make an incomprehensible terrain make sense, help drive your search for villages, or provide the layout of a base to explore. This tutorial is a step-by-step tutorial of creating and customizing maps in Minecraft, which has been tested as of Java Edition 1.19 and Bedrock Edition 1.20.
Step 1: Gather the Essentials
Gather the materials necessary to make a map, including paper, a compass (Java Edition only to make the map), and a cartography table (optional).
Paper
To craft, arrange 3 sugarcanes in a straight line on the crafting grid. Plant sugarcane close to water bodies such as rivers or oceans and visit them to cultivate them. Every batch produces 3 paper, so repeat this as often as needed to gradually amass enough sheets.

Compass
- Java Edition: Craft a compass by placing redstone dust in the center of the crafting grid, with 4 iron ingots directly above, below, left, and right of it. Redstone can be mined from ore below Y-level 16 or traded with villagers.
- Bedrock Edition: A compass isn’t required to craft an empty map, but is essential later to add a location marker.

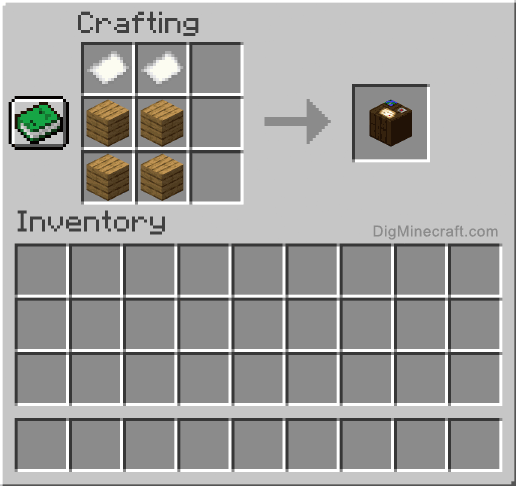
Cartography Table
Not essential, but very handy when it comes to expanding, copying, and locking maps. Make it by putting 2 papers on top of 4 wood planks on the crafting grid. This tool simplifies the further customization of maps when you have already learned the basics.
Step 2: Craft the Map
The crafting recipe differs slightly between editions:
Java Edition
Place the compass in the center slot and surround it with 8 paper pieces in all adjacent slots. This creates an Empty Map that automatically shows your location when activated.
Bedrock Edition
Fill the entire crafting grid with 9 paper pieces to create an Empty Map without a location marker. To add your current position marker:
- Combine the Empty Map with a compass in an anvil.
- Alternatively, use the cartography table to turn it into a Locator Map, which displays your position as a red marker.
Once crafted, add the map to your hotbar for immediate use.
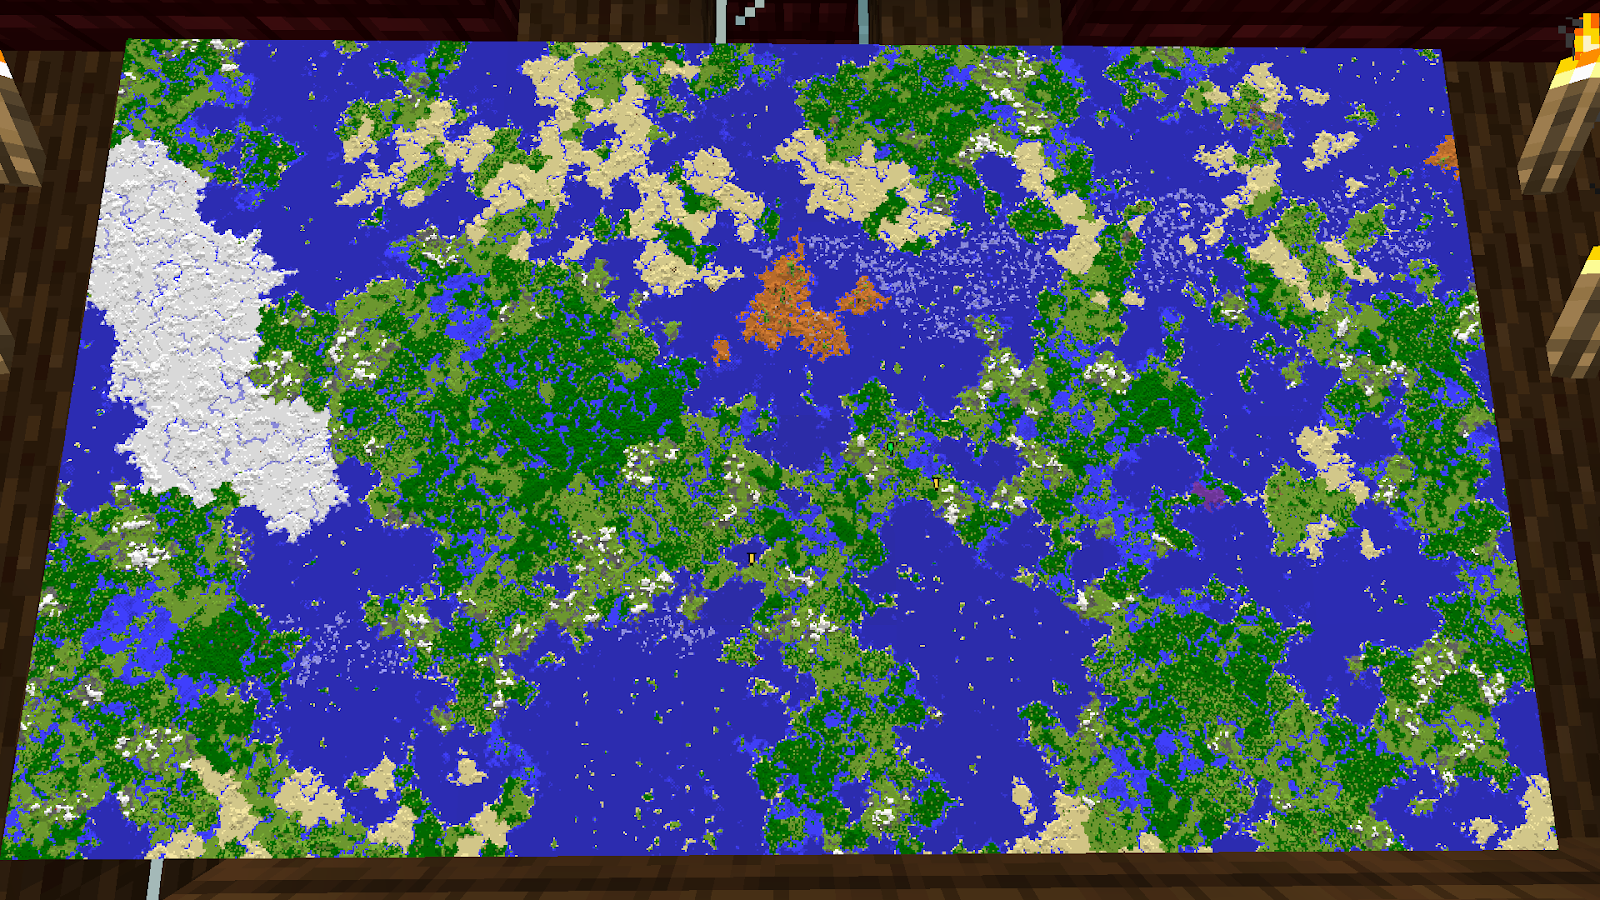
Step 3: Activate and Explore
Have the Empty Map or Locator Map in your hands and right-click (or use the map button) to activate it. As you walk around, the map will be filled in with features of the terrain such as biomes, structures, and your location.
Java Edition
The compass in the map recipe ensures you always see your position as a white arrow.
Bedrock Edition
Only Locator Maps show your position; Empty Maps without a compass do not track your location.
Tip: If your map doesn’t update, ensure you’re holding it while moving. Dropping or switching items may pause updates until you hold them again.
Step 4: Expand the Map
A standard map covers a 128x128 block area. You can expand its coverage up to four times (Level 4), increasing the area to 2048x2048 blocks, but with less detail.
Using a Cartography Table
Place your map and 1 paper in the slots, then retrieve the zoomed-out map. Each level doubles the coverage area but reduces detail.
Using a Crafting Table
Surround your map with 8 paper to zoom out, though this method is less efficient. Stick to the cartography table for streamlined expansion.
Step 5: Duplicate or Lock the Map
Duplicate
Place 1 map and 1 paper on the cartography table to create an exact copy. This is useful for backups or sharing maps in multiplayer.
Lock
To lock a map and prevent further zooming or exploration, place the map and a glass pane in the cartography table. This is ideal for preserving a map’s current state, especially when marking fixed locations like villages or mines.
Step 6: Mark Key Locations with Banners
You can add custom markers to your map using banners:
Crafting a Banner
Craft a banner with wool and a stick. Use an anvil to name it with a custom label (e.g., "Home," "Mine," or "Danger").
Placing the Banner
Place the banner at the location you want to mark. Right-click the banner with the map in hand to add a colored icon with your custom label to the map.Note: Beds do not add icons; only banners work for this purpose.
Advanced Tips for Map Mastery
For advanced map mastery, consider creating custom maps or dynamic overlays using command blocks and invisible armor stands with name tags, a feature accessible in Creative Mode or through third-party tools. To showcase exploration progress or facilitate planning, you can place maps in item frames on walls, crafting large, seamless map displays of your world.
While maps do not capture terrain in the Nether or End, locator maps in the Nether display a red marker showing your corresponding position in the Overworld, though they won't fill in Nether terrain. Maps can be obtained through crafting, but also by discovering them in chests within structures such as shipwrecks, ocean ruins, and strongholds, or by purchasing them from cartographer villagers.
Why Maps Are Worth the Effort
Not only is a good map another tool--it is a strategic advantage. Maps will make finding a temple in the desert, plotting a cross-world railway, or organizing with other players in multiplayer much easier to navigate and decide. They minimize the annoyance of being lost and allow you to work on building, exploring, or surviving. Think of getting into the Nether without a locator map: oceans of lava, ruins of fortresses, and piglin dwellings merge into a disordered world. Although maps are not used to chart nether territory, the overworld location marker on locator maps lets you retrace your steps using portals.
Final Thoughts
Creating a map in Minecraft is easy, whereas learning its capabilities takes time. Begin with fundamentals--create and activate, then play around with zooming, copying, locking, and personal labels. Maps are essential accessories even for the most ambitious projects in the course of time. Browse the interaction of maps with other utilities such as leads, boats, or minecarts. Make it a challenge to leave a map journal of every biome, structure, and adventure you embark upon. The opportunities are limitless as the worlds you discover.